RFID-Chips

RFID-Chips

Eine Ladeautorisierung mittels RFID-Chip ist mit allen Spelsberg Wallbox Varianten standardmäßig möglich. Hier können Sie die im Lieferumfang enthaltenen RFID-Chips oder andere RFID-Karten entsprechend ISO 14443A / MIFARE Classic nutzen. Bitte beachten Sie, dass alle RFID-Chips zur Nutzung der Ladeautorisierung an der Wallbox angelernt werden müssen.

Charging authorization via RFID chip is possible as standard with all Spelsberg Wallbox variants. Here you can use the RFID chips included in the scope of delivery or other RFID cards according to ISO 14443A / MIFARE Classic. Please note that all RFID chips must be taught to the wallbox in order to use the charging authorization.

Wallbox in het netwerk

Wallbox nicht im Netzwerk

RFID-Chips anlernen

Nutzen Sie zum Anlernen der RFID-Chips die Spelsberg Wallbox App. Die Voraussetzung ist, dass Sie die Wallbox an der die Berechtigung angelernt werden soll, bereits zu Ihrer App hinzugefügt haben. Dazu klicken Sie im Willkommen-Screen auf “Wallbox zur App hinzufügen” und folgen den Anweisungen in der App. Sie benötigen hierzu die beiliegenden Einrichtungs-QR-Codes.

Sofern Sie die Wallbox bereits zur App hinzugefügt haben, wählen Sie die entsprechende Wallbox aus und  wechseln in den Bereich “System”. Klicken Sie auf “Berechtigungen”. In dieser Übersicht kann der Berechtigungsmodus der Wallbox umgestellt sowie eine Übersicht zu allen angelernten Berechtigungen (RFID-Chips und Elektrofahrzeuge) eingesehen werden. 

An dieser Stelle gibt es zwei mögliche Vorgehensweisen: 

1. Wallbox befindet sich im Netzwerk (nur Spelsberg Wallbox Smart Pro)

  • Klicken Sie am unteren Bildrand auf „Hinzufügen“. Halten Sie nun den RFID-Chip vor das RFID-Logo der Wallbox bis diese zwei Mal grün blinkt. Anschließend erscheint automatisch in der App ein Eingabefeld zur Vergabe eines Namens für den RFID-Chip bzw. für die Berechtigung. Vergeben Sie den entsprechenden Namen für die Berechtigung und schließen den Vorgang ab. Damit haben Sie die Berechtigung erfolgreich angelernt. 

2. Spelsberg Wallbox Smart Pro Offline oder Spelsberg Wallbox Pure

  • Klicken Sie am unteren Bildrand auf „Hinzufügen“. Es erscheint eine Aufforderung zur NFC-Übertragung. Drücken Sie auf “Weiter” und halten Sie das Smartphone vor das RFID-Logo der Wallbox, bis die Übertragung erfolgreich abgeschlossen wurde. Damit haben Sie die Wallbox in den Anlern-Modus versetzt. Halten Sie nun den RFID-Chip vor das RFID-Logo der Wallbox bis diese zwei Mal grün blinkt. Klicken Sie in der App auf “Weiter”, um zum Eingabefeld für den Namen des RFID-Chips zu gelangen. Vergeben Sie nun einen Namen für den RFID-Chip bzw. für die Berechtigung. Nachdem Sie auf “Weiter” gedrückt haben, erscheint erneut eine Aufforderung zur NFC-Übertragung. Drücken Sie erneut auf “Weiter” und halten Sie wieder das Smartphone vor das RFID-Logo der Wallbox, bis die Übertragung erfolgreich abgeschlossen wurde. Damit haben Sie die Berechtigung erfolgreich angelernt.

Sollte sich dabei mit iOS Geräten das Karten-Wallet öffnen, wurde die Wallbox nicht korrekt in den Anlern-Modus versetzt. Starten Sie den Prozess erneut und folgen Sie genau den oben genannten Anweisungen. 
 

Berechtigungen entfernen oder ändern

In der Übersicht zu den Berechtigungen klicken Sie auf das Bleistiftsymbol hinter dem Namen der jeweiligen Berechtigung, die geändert werden soll. Anschließend können Sie dort einen neuen Namen vergeben und “Speichern” oder auf “Berechtigung löschen” klicken, um diese zu entfernen. Sofern sich die Wallbox Smart Pro nicht im Netzwerk befindet oder es sich um eine Spelsberg Wallbox Pure Version handelt, müssen Änderungen per NFC-Übertragung an die Wallbox übergeben werden. Wenn Sie dazu aufgefordert werden, halten Sie das Smartphone vor das RFID-Logo der Wallbox bis die Übertragung erfolgreich abgeschlossen wurde. 
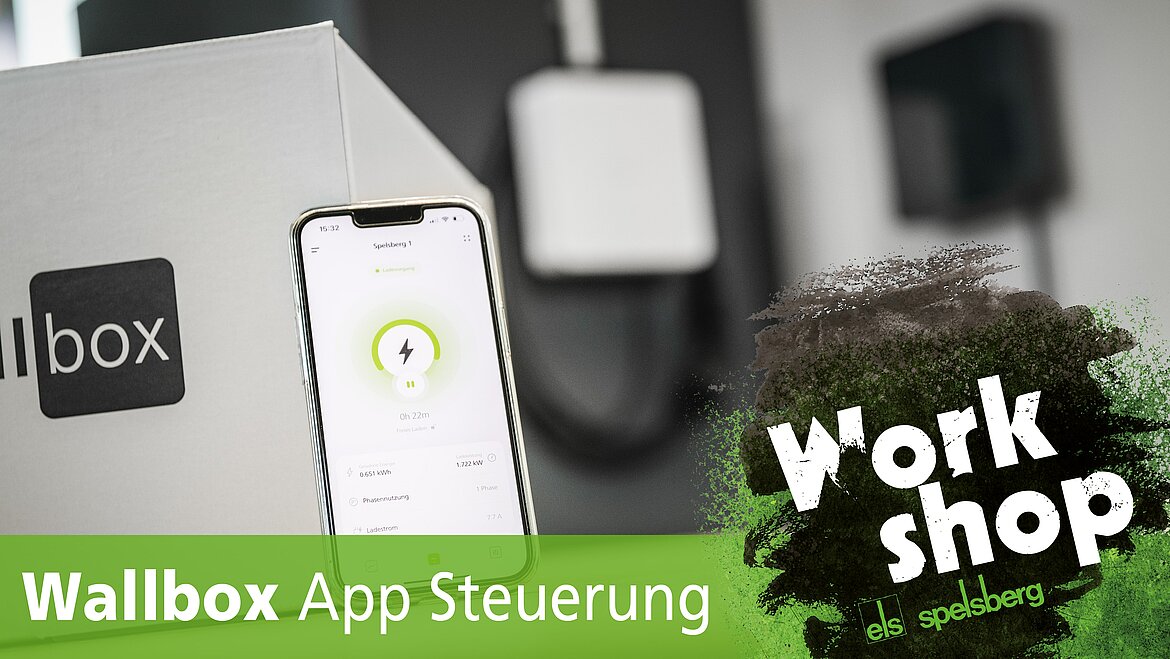
Teach RFID chips

Use the Spelsberg Wallbox App to teach the RFID chips. The prerequisite is that you have already added the wallbox to which the authorization is to be taught to your app. To do this, click on "Add wallbox to app" in the welcome screen and follow the instructions in the app. You will need the enclosed setup QR codes for this.

If you have already added the wallbox to the app, select the corresponding wallbox and switch to the "System" area. Click on "Permissions". In this overview, the authorization mode of the wallbox can be changed and an overview of all learned authorizations (RFID chips and electric vehicles) can be viewed. 

There are two possible procedures at this point: 

1. Wallbox is in the network (Spelsberg Wallbox Smart Pro only).

  • Click on "Add" at the bottom of the screen. Now hold the RFID chip in front of the RFID logo of the wallbox until it flashes green twice. An input field for assigning a name for the RFID chip or for the authorization then appears automatically in the app. Assign the corresponding name for the authorization and complete the process. You have now successfully programmed the authorization. 

Spelsberg Wallbox Smart Pro Offline or Spelsberg Wallbox Pure

  • Click on "Add" at the bottom of the screen. A prompt for NFC transmission appears. Press "Next" and hold the smartphone in front of the RFID logo of the wallbox until the transfer is successfully completed. You have now set the wallbox to teach-in mode. Now hold the RFID chip in front of the RFID logo of the wallbox until it flashes green twice. Click on "Next" in the app to get to the input field for the name of the RFID chip. Now enter a name for the RFID chip or for the authorization. After you have pressed "Next", a prompt for NFC transmission appears again. Press "Next" again and hold the smartphone in front of the RFID logo of the wallbox until the transfer is completed successfully. You have now successfully learned the authorization.

If the card wallet opens with iOS devices, the wallbox was not set correctly to the teach-in mode. Restart the process and follow the above instructions exactly. 
 

Remove or change permissions


In the permissions overview, click on the pencil icon behind the name of the respective permission you want to change. You can then enter a new name and click "Save" or "Delete authorization" to remove it. If the Wallbox Smart Pro is not in the network or if it is a Spelsberg Wallbox Pure version, changes must be transferred to the wallbox via NFC transmission. When prompted, hold the smartphone in front of the RFID logo of the wallbox until the transfer is successfully completed. 

From 2 minutes 35 seconds

Wallbox in the network

Wallbox not in the network

Add product to Watchlists

Existing Watchlists

New Watchlist

organize Watchlist